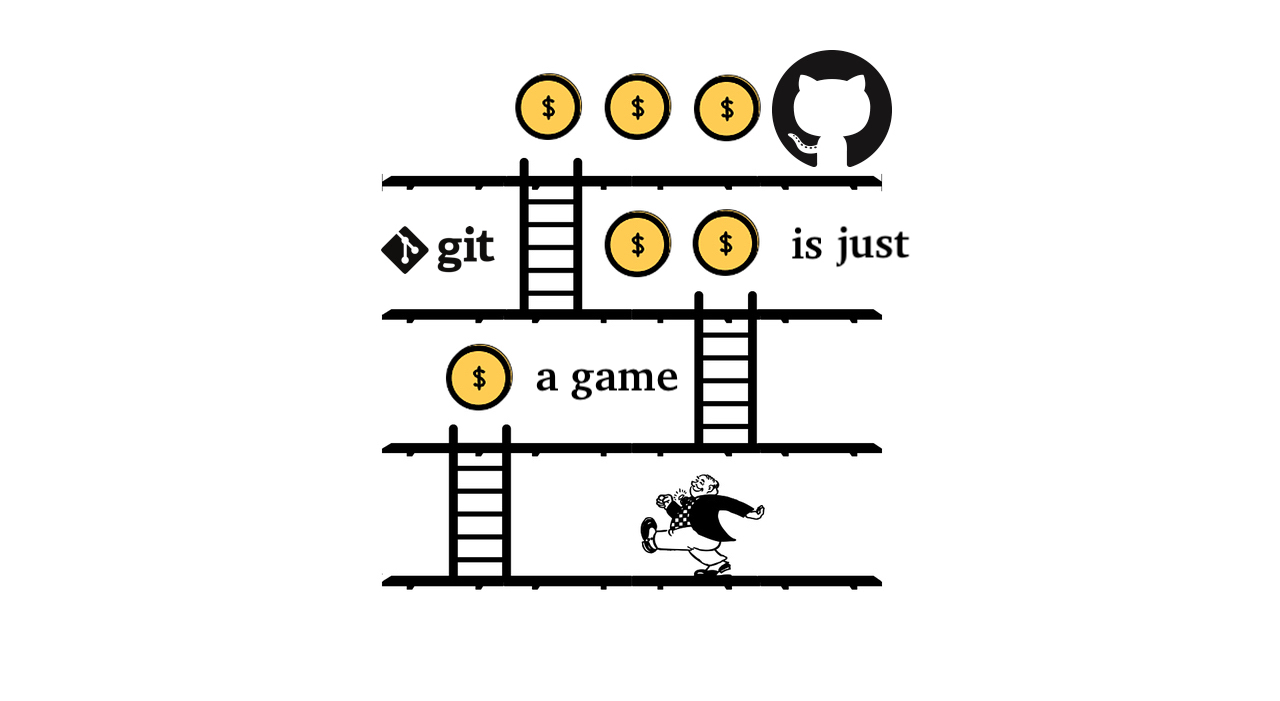

Git is just a Game - LEVEL 0: Introduction
This blog series is an attempt to explain git and GitHub using an analogy to games. We gamify a git tutorial here so to say. This particular post can also be used as a full walkthrough for total beginners to get started with git.
Some abstract concepts are often difficult to grasp and git has a lot of them. A good analogy can help to understand, to make connections, to demystify and to memorize those concepts.
The conventional definition of git in a nutshell can go like this:
„Git ( /ɡɪt/ [7]) is a version-control system for tracking changes in computer files and coordinating work on those files among multiple people.“ — The almighty Wikipedia 😴

I believe that knowing git is one of the most essential skills for an aspiring engineer nowadays. I had the luck that back in 2015 a selfless developer(thank you Jimmy!) devoted his time to teach this skill in a workshop to a group of students, including me. This had a serious impact on my career because I had started to build a portfolio and confidence, even before I knew how to write Hello World in more than one language.
I still can feel that for total beginners this technology can feel like a mystery, and even to experienced engineers too, if they have never dealt with git before.
For those aspiring GitHub Octocat fans one could redefine git’s definition into a gamified version:
„Git is a collaborative game that makes it easy to keep track of your code, jump around in code’s history, and merge your and your friends’ code together.“ — some crazy guy 🤪
And I mean a real game. Like games were before Candy Crush and before Farmville. And admittedly after Pong and after Tetris. That is to say a game, where you have a deep flow going on. Imagine that you are DOOM’ed, you have 23% of life points left, almost no ammunition for your pistol and the next medkit is far away. Do you feel the urge to hit the quick save button from time to time?
Or a game where you consciously save your progress at some point, for instance to try different paths for your hero. Kill the dragons or let them alive to have a different outcome of the game?
In a nutshell, git is like a game with clear-cut states.
But no worries, even if you are just hooked up on Candy Crush but still want to understand git, this tutorial should fit your needs because the concept of saving is ubiquitous. In so many text editors and other programs you have to hit the save button to not lose your progress. Also if you really never played computer games, you probably, did board games, sports or at least hide and seek (please).
So, without further ado, game on!

Perequisites
- You have never worked with git before or you still don’t get it
- You know where to find your computer’s command line / terminal and you want to use it during this tutorial (I won’t use any third party graphical interfaces here today)
- You have git installed, for example from here
- If you are a total beginner Windows user, please use GitBash as your command line that will be installed with the git installation
Git installation - Get the Game logic
Now, if you have git installed, you already made the first step into the game. This installation puts all the game logic onto your computer and makes the existing git commands available to you.
For example your computer should now know the following git command
user:~$ git —-version
git version 2.17.0
Really exciting! 🕺🏾 If this works, then nothing can stop us anymore!
A game with a goal
Every legit game has some kind of a goal. Your playing figures in the git game will be text, code, files and directories. You will write code, data and documentation into files and organize them in directories. It is your main mission to:
- provide an understandable and reusable history of your work
- protect your code from permanent loss
- work with others on the same code efficiently
If you ever wondered what “Version Control” means, this is it.
git init - Start a fresh game
Let’s imagine you want to create your new project. This is just like starting a whole new game. In git you do that every time in the following manner:
/(If you don’t know any of the commands that we type in the terminal from now on, look them up in the internet! Maybe write them even on index cards. This will be awesome training for you as we go through the most essential commands here.)/
- Create a new folder for your game by typing the following in your terminal:
user:~$ cd ~ user:~$ mkdir git-game user:~$ cd git-game/ - Start the git game with:
user:~$ git init
Initialized empty Git repository in /Users/user/git-game/.git/
Great!
With the command git init the game logic creates an invisible directory with the name .git.
This is like creating a fresh new copy of a game.
This .git directory contains all the known game states for that particular game; it’s like the memory of your game.
A directory on your computer where the .git folder lies, is also called a local repository in git terminology.
git add - Prepare for a quick save
If you ever played real computer games, then you are probably aware of the quick save hotkey which mostly defaults to F5 on your keyboard. Hitting F5 can become a quirk in highly suspense-packed games. These quick saves in git are the bread and butter of git’s game logic.
While notorious quick saving in games can make your playing kind of boring, there cannot ever be too many quick saves in git! This beautiful feature ensures that you reach all of your game goals mentioned above most efficiently.
But before you can save the current state of your code, you need to tell git, which files exactly you want to ingest into memory forever. This step is also called “staging”. You bring the files that you like to the stage so that you can save them in the next step.
Let’s play this one through creating an example python file.
- Create a new file in your git-game folder via this terminal command
user:~$ touch player.py - Write this into your new file
name = Frodo weapon = Ring level = 1 - Prepare for the quicksave
user:~$ git add player.py
And this is it! I know, you can’t wait for the next step, so let’s move quickly.
git status - Check the game progress
After the last command git will know that you want to save the changes of player.py into its memory.
You can and you should always check what git is currently “thinking” about the state of your game:
user:~$ git status

On branch master

No commits yet

Changes to be committed:
  (use "git rm --cached <file>..." to unstage)

	new file:   player.py
As you can see, our player.py is ready to commit. “Committing” is another git slang and it means…
git commit - Quick save
When you commit your code via git, you are practically saying:
- Now I like the current state of my code because I’ve done what I planned.
- I would like to remember this state.
- I might come back to this state if I mess something up later.
- I will give my changes a name so that other developers can figure out quickly, what I have done in this step.
The only difference to a quick save is:
Here you want to provide a short and significant message, so that other people know what you have done in this step.
user:~$ git commit -m"add player"

[master (root-commit) eaf27a5] add player
 1 file changed, 3 insertions(+)
 create mode 100644 player.py
Please always follow this conventions when you write your git messages: Git Commit Message Best Practices This will make the collaboration much easier in the long term. The main point here: be consistent! If you work in a team: decide right away together for a common style.
Good, your game is now saved. Congratulations! But so far everything is happening on your computer only. Your colleagues and friends won’t see your code anywhere online.
It’s time to get public.
How you will LEVEL up in future tutorials:
LEVEL 1 - Understand GitHub
- what is GitHub
- differences between Git and GitHub
- git push - make your game public
LEVEL 2 - Learn common git tricks to survive
- how to read
git diff - how to jump in history with
git log - best practices (commit messages,
.gitignorefiles etc.)
LEVEL 3 - Branches
- branches - start a parallel game
- switch between the games
- fight merge conflict monsters 👻
- a visual comparison of git branches
LEVEL 4 - Git Workflows and Habits
- lone wanderer workflow - for your private projects
- Simple and Naïve Workflow - small and manageable projects
- Simple but Controlled Workflow - bigger projects
LEVEL 5 - History changer
- learn time travelling
amend,rebaseand cherrypicking🍒
LEVEL 6 - Necessary and Unnecessary Tools
- GUIs
- Gitflow
- Submodule
- Comparison to other version control tools
- GitHub clones (GitLab, BitBucket, Plastic etc.)
LEVEL 7 - Data Version Control with git?
Please reach out, if something is unclear. Others might have the exact same question too!
Any feedback and ideas for future posts are highly appreciated. And also if you share this article because you found it useful 🚀


Comments